How to Properly Clean Dryer Vent
February 5, 2024
Lint accumulates over time in the dryer vent. Not only is this unhygienic, but the material is also flammable. Failure to maintain the cleanliness of this particular vent can lead to disastrous consequences due to fire. You should inspect and clean the dryer vent on a regular basis. The cleaning schedule should depend on how often you use the dryer and how many clothes you put in it on a typical day. Follow these procedures for proper thorough cleaning:
- Inspect the outside vent opening. If there are obstructions – for example, animal nests, leaves, and any other debris – remove them as best as you can. The ground-level vent opening is a favorite nesting location for rodents.
- Now go back inside and pull the dryer away from the wall to gain access to the electrical cord and the interior duct hose. Unplug the cord (or turn off the gas) to ensure safety.
- Remove the lint filter and duct joint from the unit. Clean visible debris from both the lint and lint housing. Use a long flexible brush to reach deeper into the housing.
- Vacuum the lint filter, lint housing, and duct joint.
- Remove the entire exposed ductwork connected to the outside wall opening. Brush and vacuum the entire duct as well as the wall opening.
- Reassemble all parts previously removed, and install a replacement if needs be.
Cleaning a dryer vent is a pretty simple task involving only brushing and vacuuming. However, you need to disassemble some detachable components to ensure proper cleaning. Refer to the user manual if you have difficulties disassembling/reassembling the parts.
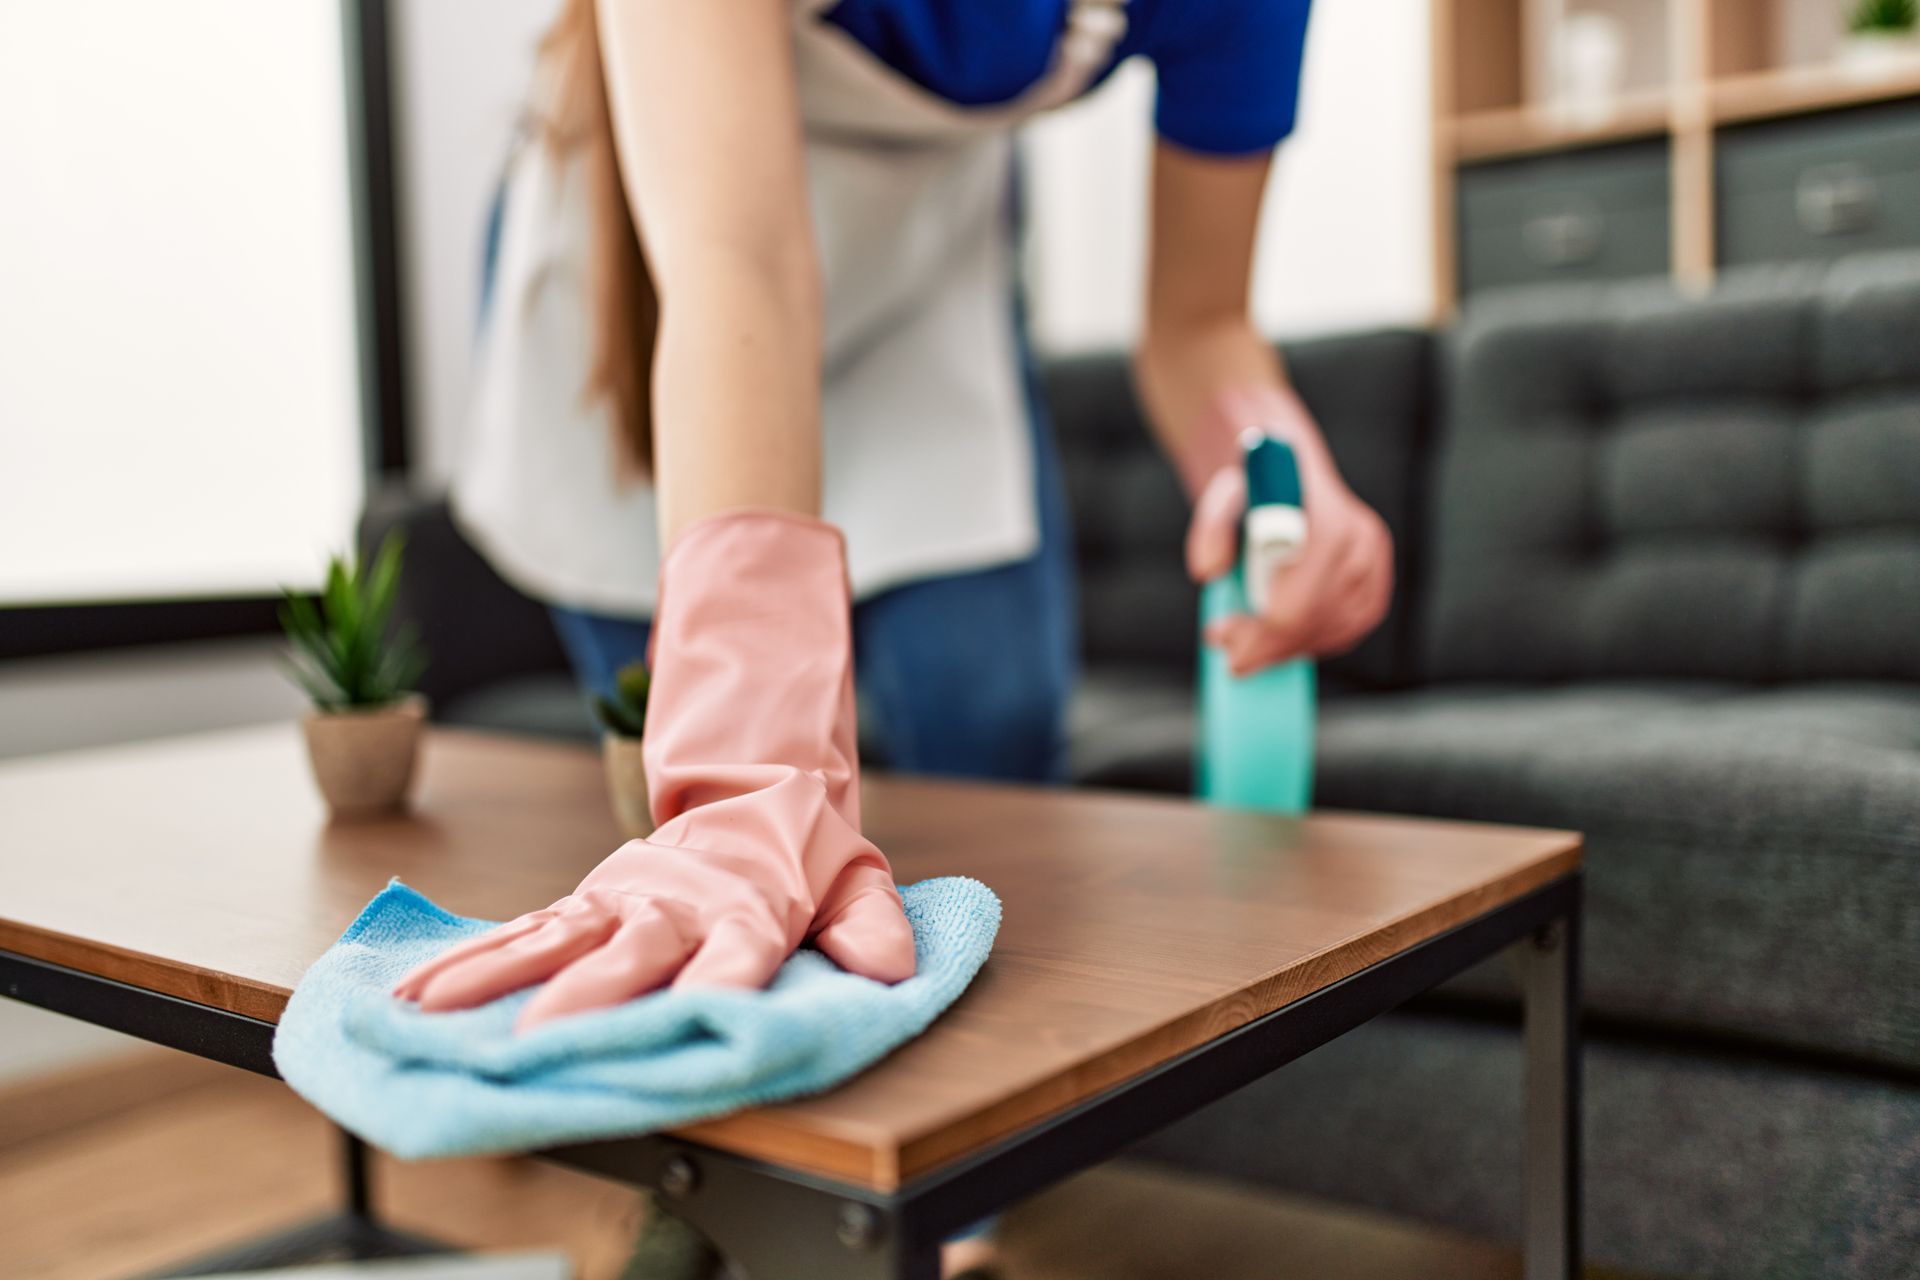
Looking for a trusted house cleaning service in Broomfield, CO? Majestic Domestics offers reliable residential care. Call (720) 412-2311 today.
Want to know when to choose standard cleaning? Majestic Domestics breaks it down. Click here and discover the best residential cleaning services in Erie, CO!
Why choose Majestic Domestics Cleaning Services for cleaning services in Broomfield, CO? Find out in our blog! Learn more and get your home sparkling today.
Discover the top benefits of deep cleaning in Broomfield, CO! Trust Majestic Domestics for a spotless home. Call (720) 412-2311 today!
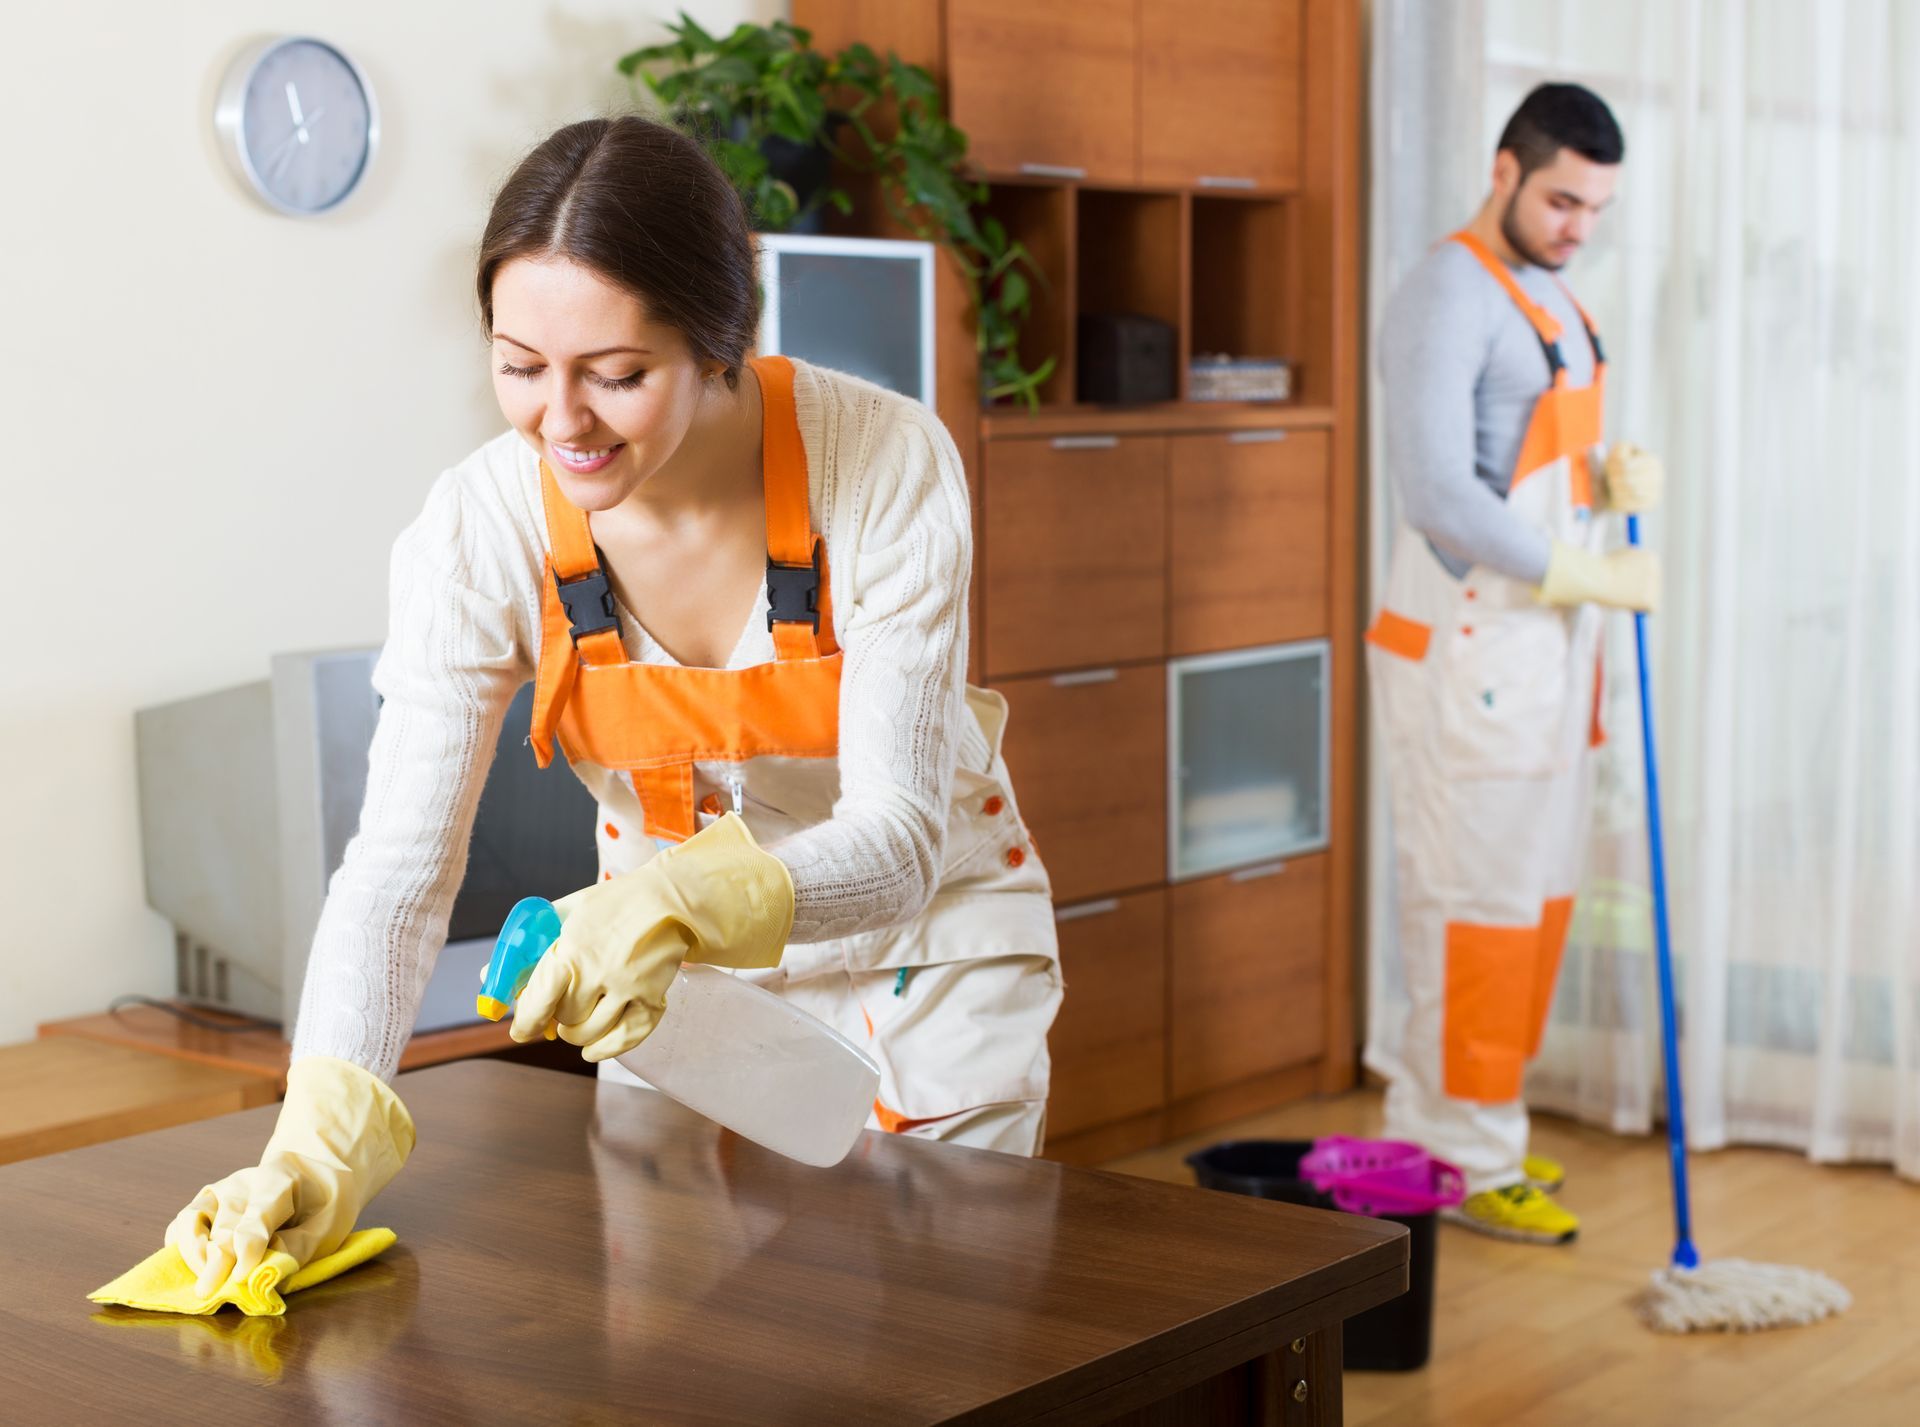
Unveil the transformative power of one-time deep cleaning services in Erie Co. Experience a sparkling home today - Contact us now!
Transform your home with Majestic Domestics' one-time deep cleaning in Arvada, CO! Call us at (720) 412-2311 today.

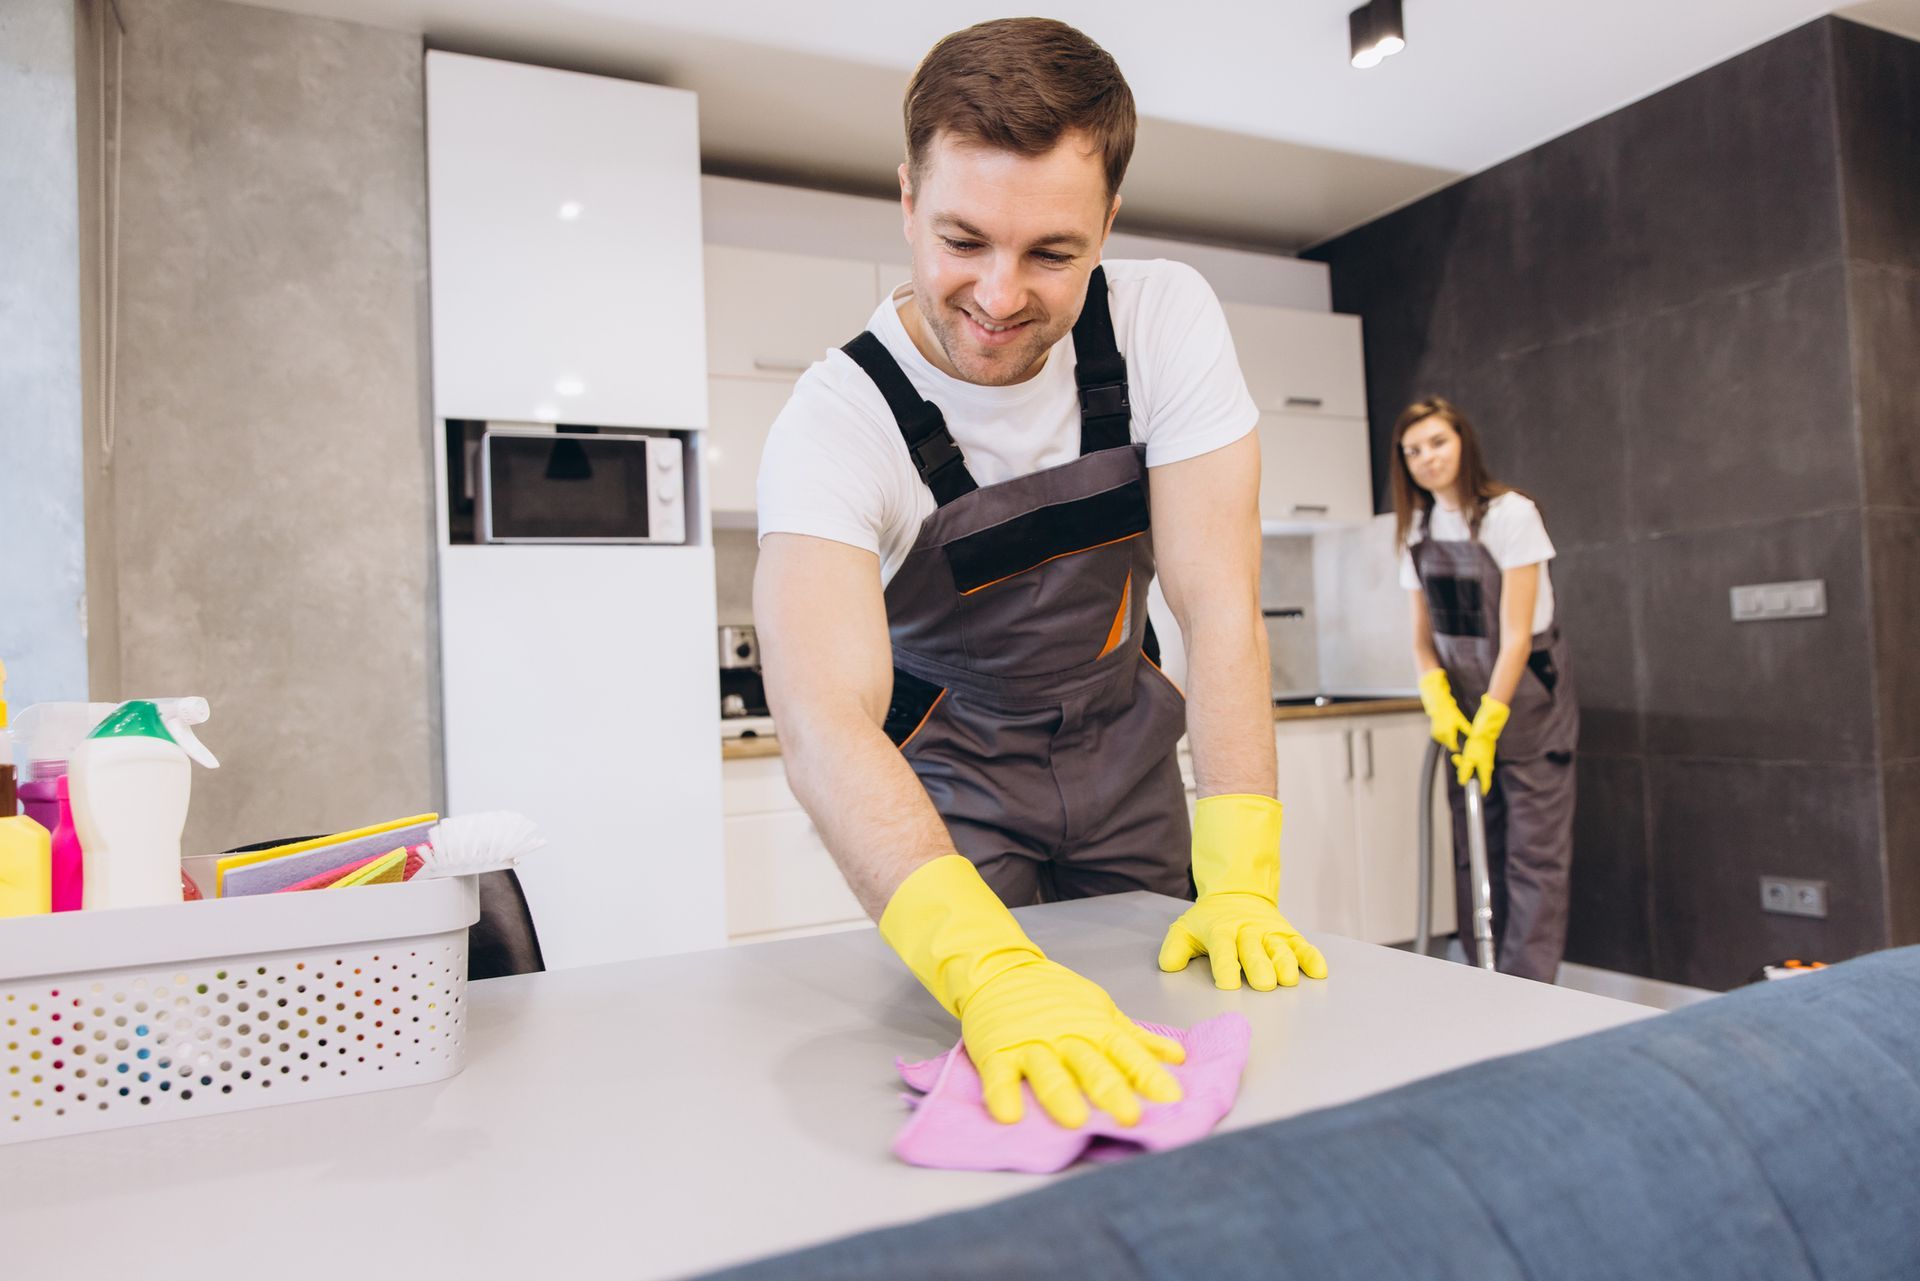
Get your home ready for the season with expert holiday cleaning in Central Park, CO. Call Majestic Domestics at (720) 412-2311 to schedule your service today!

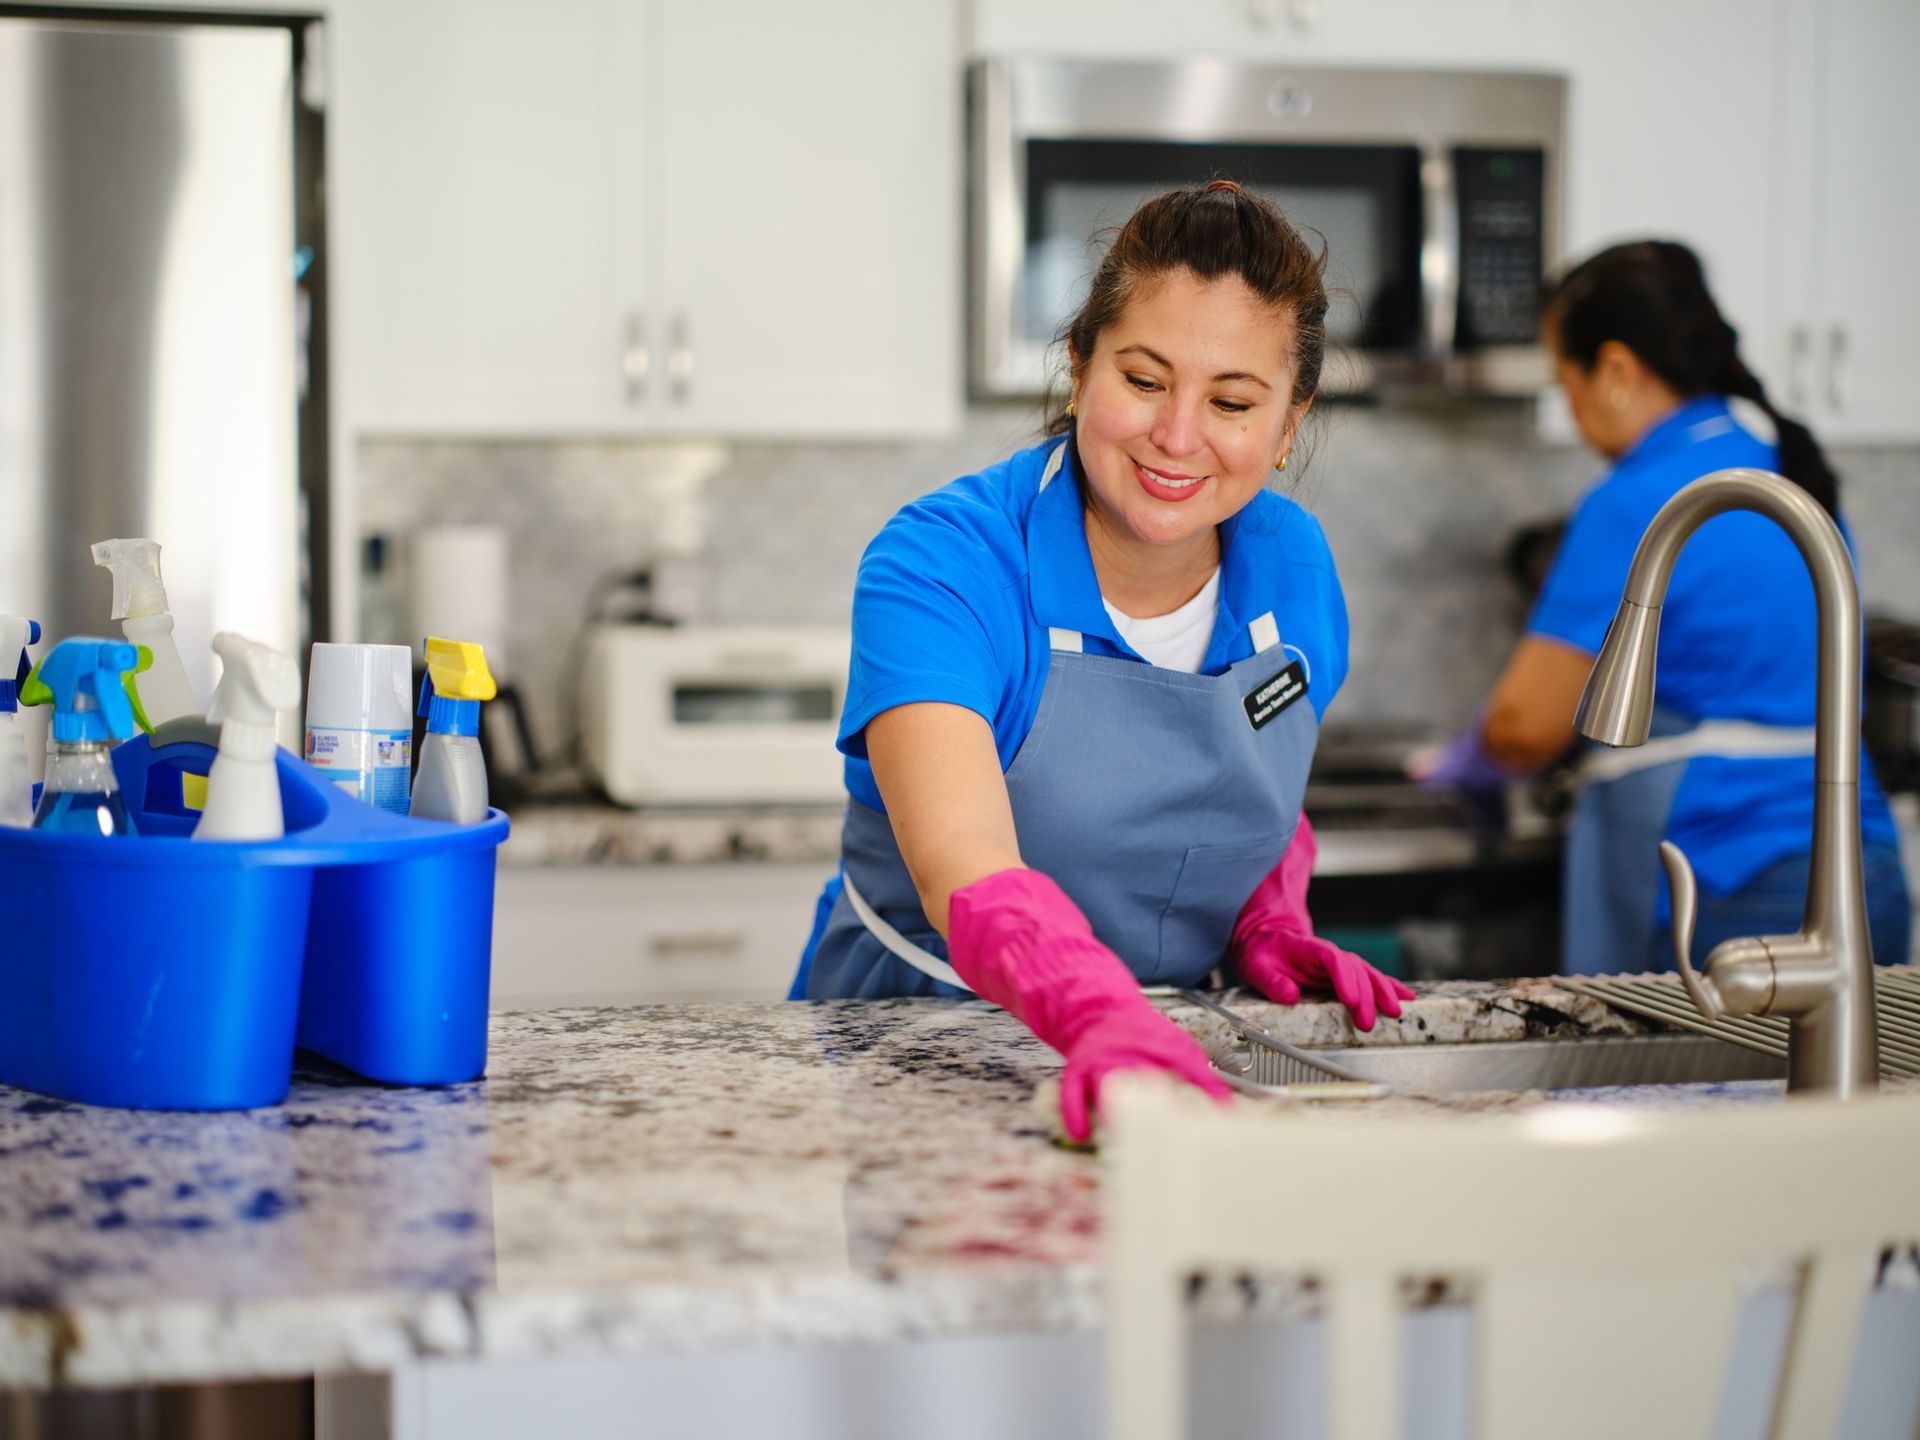
As we embark on a new year, we want to take a moment to express our heartfelt appreciation for your unwavering trust and support. Your continued loyalty has been the cornerstone of our success, and we are truly grateful for the opportunity to serve you. We are excited to continue our journey together and make 2024 a year filled with exceptional service and sparkling clean spaces. To celebrate the beginning of this new chapter, we are delighted to introduce our special January offer. When you sign up for a full year of our recurring cleaning services and make the upfront payment, you will enjoy an exclusive 10% discount! Alternatively, if you choose to pay for six months in advance, you can still benefit from a generous 5% discount. This is our way of showing appreciation for your ongoing support and trust in Majestic Domestics. At Majestic Domestics, we understand the importance of a clean and organized environment in enhancing your overall well-being. Our recurring cleaning services are designed to provide you with a consistent, hassle-free solution for maintaining a pristine living or working space. With our team of dedicated professionals at your service, you can enjoy the peace of mind that comes with knowing your cleaning needs are taken care of with the utmost attention to detail. We are committed to delivering an unparalleled level of service, and we promise to continue exceeding your expectations in the year ahead. Our goal is to make your experience with Majestic Domestics not only efficient and reliable but also interactive and personalized to meet your unique needs. As we look forward to the year ahead, we are excited about the opportunity to continue serving you and making a positive difference in your daily life. Your satisfaction is our top priority, and we are dedicated to ensuring that every interaction with Majestic Domestics leaves you with a sense of delight and satisfaction. In addition to our January offer, we are also thrilled to announce that we have expanded our range of eco-friendly cleaning products and techniques. We are committed to sustainability and the well-being of our planet, and we are proud to offer you the option of a greener, healthier clean for your home or office. Don’t miss out on this fantastic opportunity to save on our exceptional cleaning services. Take advantage of our January offer and experience the convenience and excellence that Majestic Domestics has to offer. Thank you for choosing Majestic Domestics as your trusted cleaning partner. Here’s to a sparkling new year filled with cleanliness, comfort, and joy!

The holiday season is a time for joy, laughter, and creating unforgettable memories with loved ones. But let’s face it – amidst the hustle and bustle of holiday preparations, keeping your home in tip-top shape can feel like an overwhelming task. That’s where Majestic Domestics comes in, ready to sprinkle a little extra magic into your holiday season with our exclusive, not-to-be-missed deals! Picture this: twinkling lights, the aroma of freshly baked cookies, and a home that sparkles from top to bottom. With our limited-time holiday offers, you can make this dream a reality without breaking a sweat. When you schedule your first cleaning with Majestic Domestics, you’ll not only experience the joy of walking into a beautifully cleaned home, but you’ll also enjoy a generous $100 off as our special holiday gift to you. It’s our way of saying “welcome” in the most delightful way possible! But the holiday cheer doesn’t stop there. As a token of our gratitude for your continued trust in our services, we’re spreading even more savings your way. Enjoy $50 off your fourth cleaning and an additional $50 off your seventh cleaning – because the gift of a clean home is one that keeps on giving, and we’re here to make it happen for you. And for those who want to share the gift of a clean home with their nearest and dearest, our 10% discount on gift cards is the perfect way to spread the joy of a sparkling home this holiday season. Whether it’s a thoughtful gesture for a busy friend, a loving surprise for a family member, or a well-deserved treat for yourself, our gift cards are the gift of relaxation, comfort, and peace of mind. At Majestic Domestics, we understand that the holiday season is about creating moments that matter, not worrying about the state of your home. Our team is dedicated to providing top-notch cleaning services with a personal touch, so you can focus on what truly matters – making memories that will last a lifetime. So, why stress about cleaning when you can savor the magic of the season? Let Majestic Domestics take care of the cleaning, so you can indulge in the joy of the holidays. Contact us today to schedule your cleaning and unwrap these amazing holiday deals. From our family to yours, we wish you a season filled with warmth, love, and the delight of a sparkling clean home!
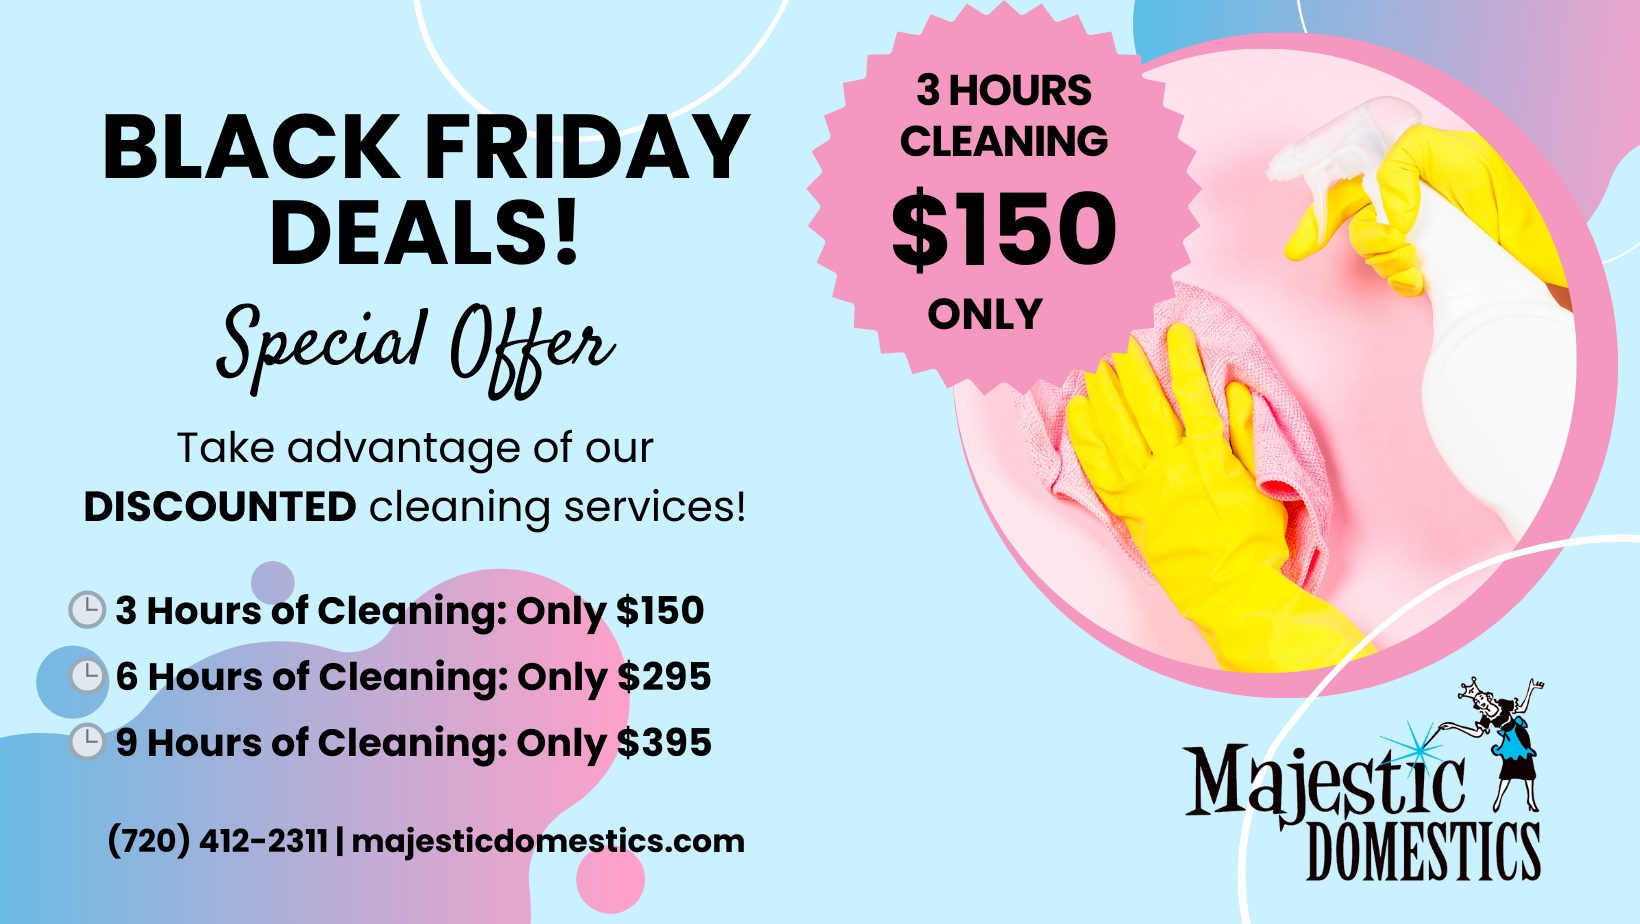
The holiday season is upon us, and what better way to kickstart the festivities than with a clean and refreshed home? Majestic Domestic is thrilled to announce its exclusive Black Friday deal, offering discounted cleaning services that will leave your home sparkling. In this blog post, we will delve into the details of this incredible offer and why you shouldn’t miss out on the opportunity to make your home shine this holiday season. Unbeatable Discounts on Cleaning Services: Majestic Domestic understands the importance of a clean and inviting home, especially during the holiday season. With their Black Friday deal, you can take advantage of discounted cleaning services that fit your needs and budget. Here are the amazing offers available for a limited time: 3 Hours of Cleaning: Only $150 6 Hours of Cleaning: Only $300 9 Hours of Cleaning: Only $450 Whether you need a quick touch-up or a thorough deep clean, Majestic Domestic has you covered. Their team of skilled professionals will ensure every nook and cranny is meticulously cleaned, leaving your home looking its absolute best. How to Avail the Offer: Taking advantage of Majestic Domestic’s Black Friday deal is simple. Just reach out to their customer service team by phone or email and mention the Black Friday offer. They will guide you through the process of scheduling your discounted cleaning appointment. Remember, this offer is available for a limited time only, so don’t wait too long to secure your spot! The Benefits of a Clean Home: A clean and organized home not only enhances the aesthetics but also contributes to a healthier and more enjoyable living environment. With Majestic Domestic’s professional cleaning services, you can relax and focus on creating beautiful memories with your loved ones during the holiday season. Let them take care of the cleaning, while you indulge in the joy of a pristine home. Majestic Domestic’s Black Friday deal is an opportunity you don’t want to miss. With discounted cleaning services, they are dedicated to making your home shine and spreading holiday cheer. Don’t let the stress of cleaning dampen your holiday spirit. Contact Majestic Domestic today and give yourself the gift of a sparkling clean home this holiday season.
